

























Planning a tensile structure project well means understanding it as a sequence of phases, not one single event — each phase has its own realistic timeframe and its own budget considerations. This guide pulls that together into one practical overview, building on the individual guides linked throughout.
In This Guide
Phase 1 — Site Survey
Every realistic plan starts with a proper site survey — dimensions, soil conditions, anchoring points, and access are all assessed before any design or firm quote is finalized. See our site survey guide for the full walkthrough. Skipping or rushing this phase is the most common cause of budget and timeline surprises later on.
This is also the stage to raise your target completion date, if you have one, so it can be checked against reality early rather than discovered to be unrealistic partway through the project. A manufacturer working from real survey data can give you an honest read on whether your timeline is achievable, and if not, what would need to change.
Phase 2 — Design and Drawings
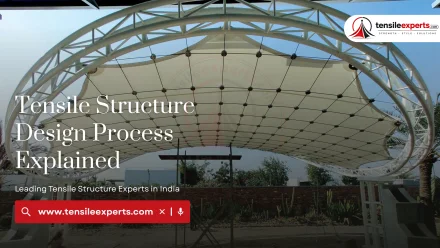
With survey data in hand, the project moves into form-finding, load analysis, and final drawings — see our design process guide for what this involves. Whether you're going with a standard or custom configuration meaningfully affects how long this phase takes.
Phase 3 — Fabrication and Installation
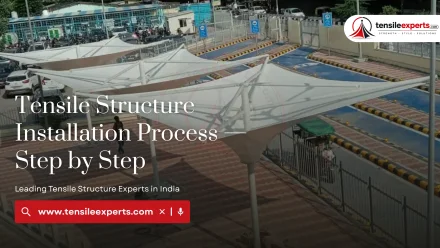
Once drawings are confirmed, fabrication of steel and fabric components begins, followed by on-site installation — foundation work, steel erection, and fabric tensioning, in that order. See our installation process guide for the detailed sequence. Foundation curing time is often the single least flexible part of this whole phase — it has to reach design strength before the frame can be loaded onto it, and that can't be rushed.
Weather and season can shift this phase's timeline too, particularly foundation curing during monsoon months or peak summer heat. Building a small amount of slack into the schedule around this phase, rather than assuming best-case conditions throughout, tends to produce a plan that actually holds up.
Budgeting Realistically
Beyond the quoted per-sqft figure — see our cost per square foot guide for what actually drives that number — it's reasonable practice to hold some contingency for site conditions that only become fully clear once work starts, particularly foundation work on sites with uncertain soil. Ask your manufacturer directly whether this is already reflected in their quote or worth planning for separately.
Related Guides




Working Backward From a Target Date
If you have a specific completion date in mind — an event, a business opening, a seasonal deadline — the most reliable planning approach is working backward: installation and foundation curing time, then fabrication lead time, then design, then survey scheduling. Starting this conversation early gives everyone a realistic picture of what's actually achievable, rather than compressing every phase to fit a date decided without that information.
The Three Phases at a Glance
With each phase explained above, here's the full sequence as a quick reference:
| Phase | What to Plan For |
|---|---|
| 1. Site Survey | Dimensions, soil, anchoring, and access assessed before design or a firm quote |
| 2. Design & Drawings | Form-finding, load analysis, and final drawings confirmed with you |
| 3. Fabrication & Installation | Steel and fabric fabricated, then foundation, erection, and tensioning on-site |
| Throughout | A reasonable contingency for site conditions that only become clear once work starts |
Explore by Product

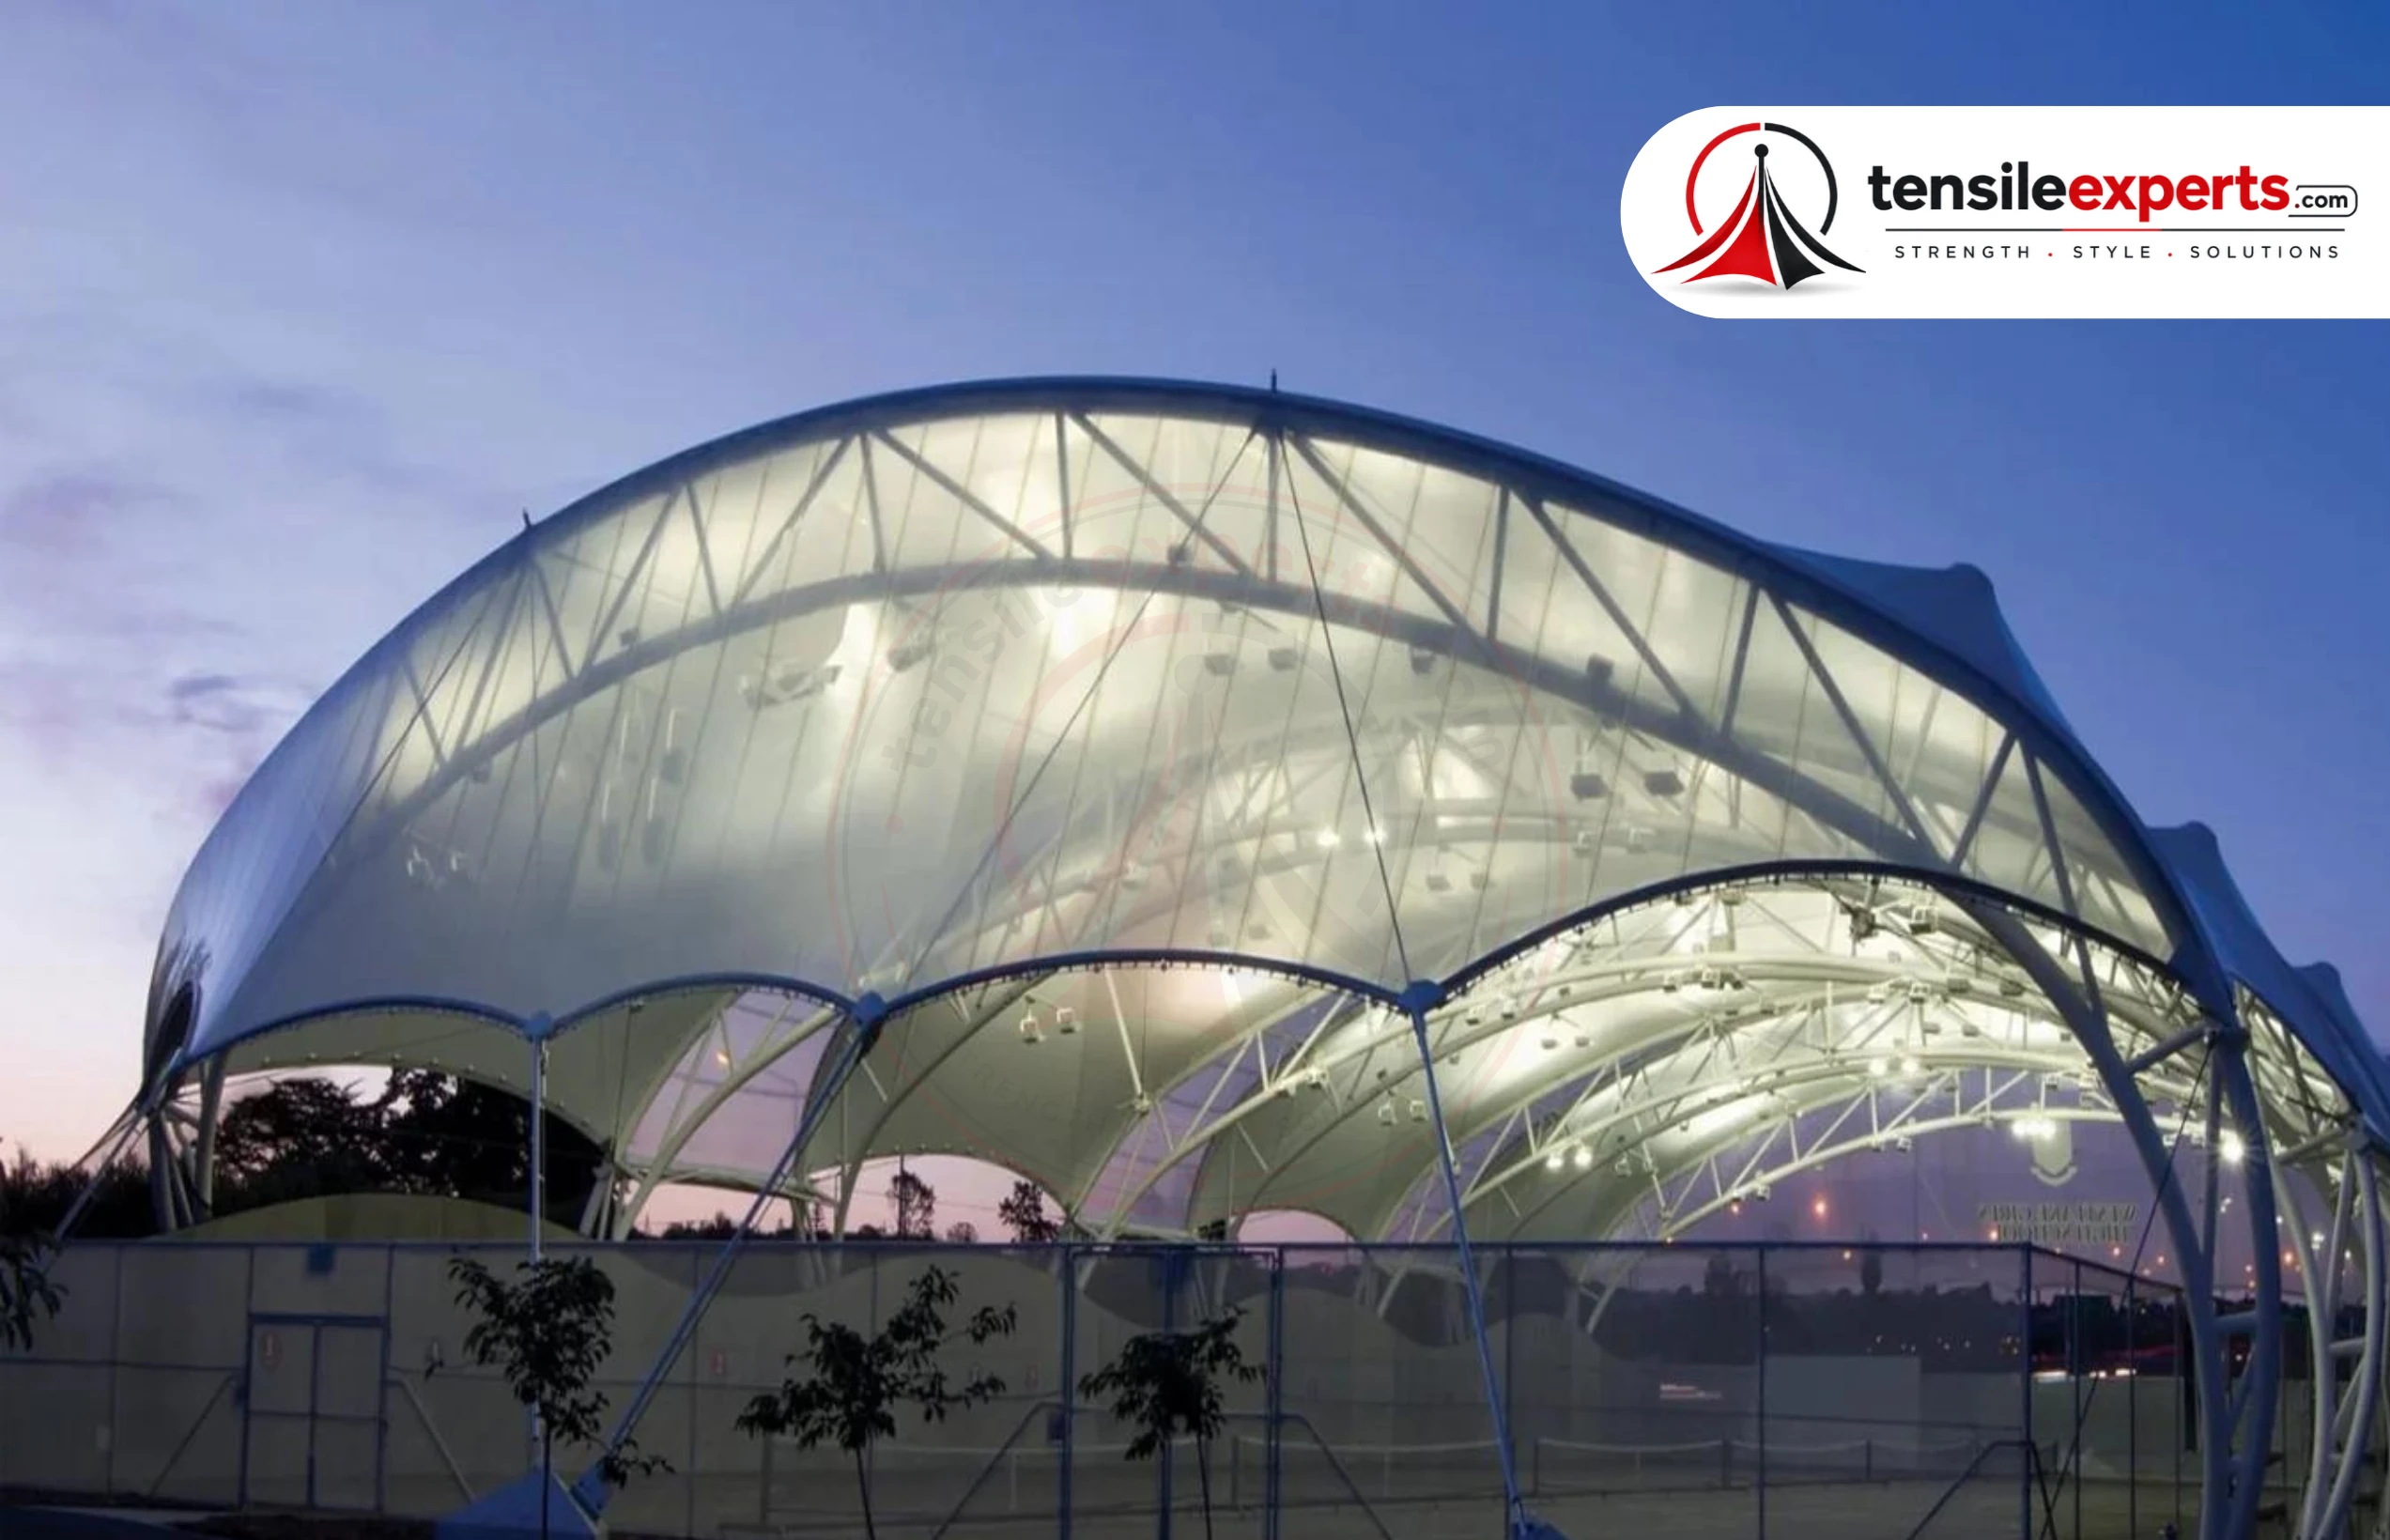
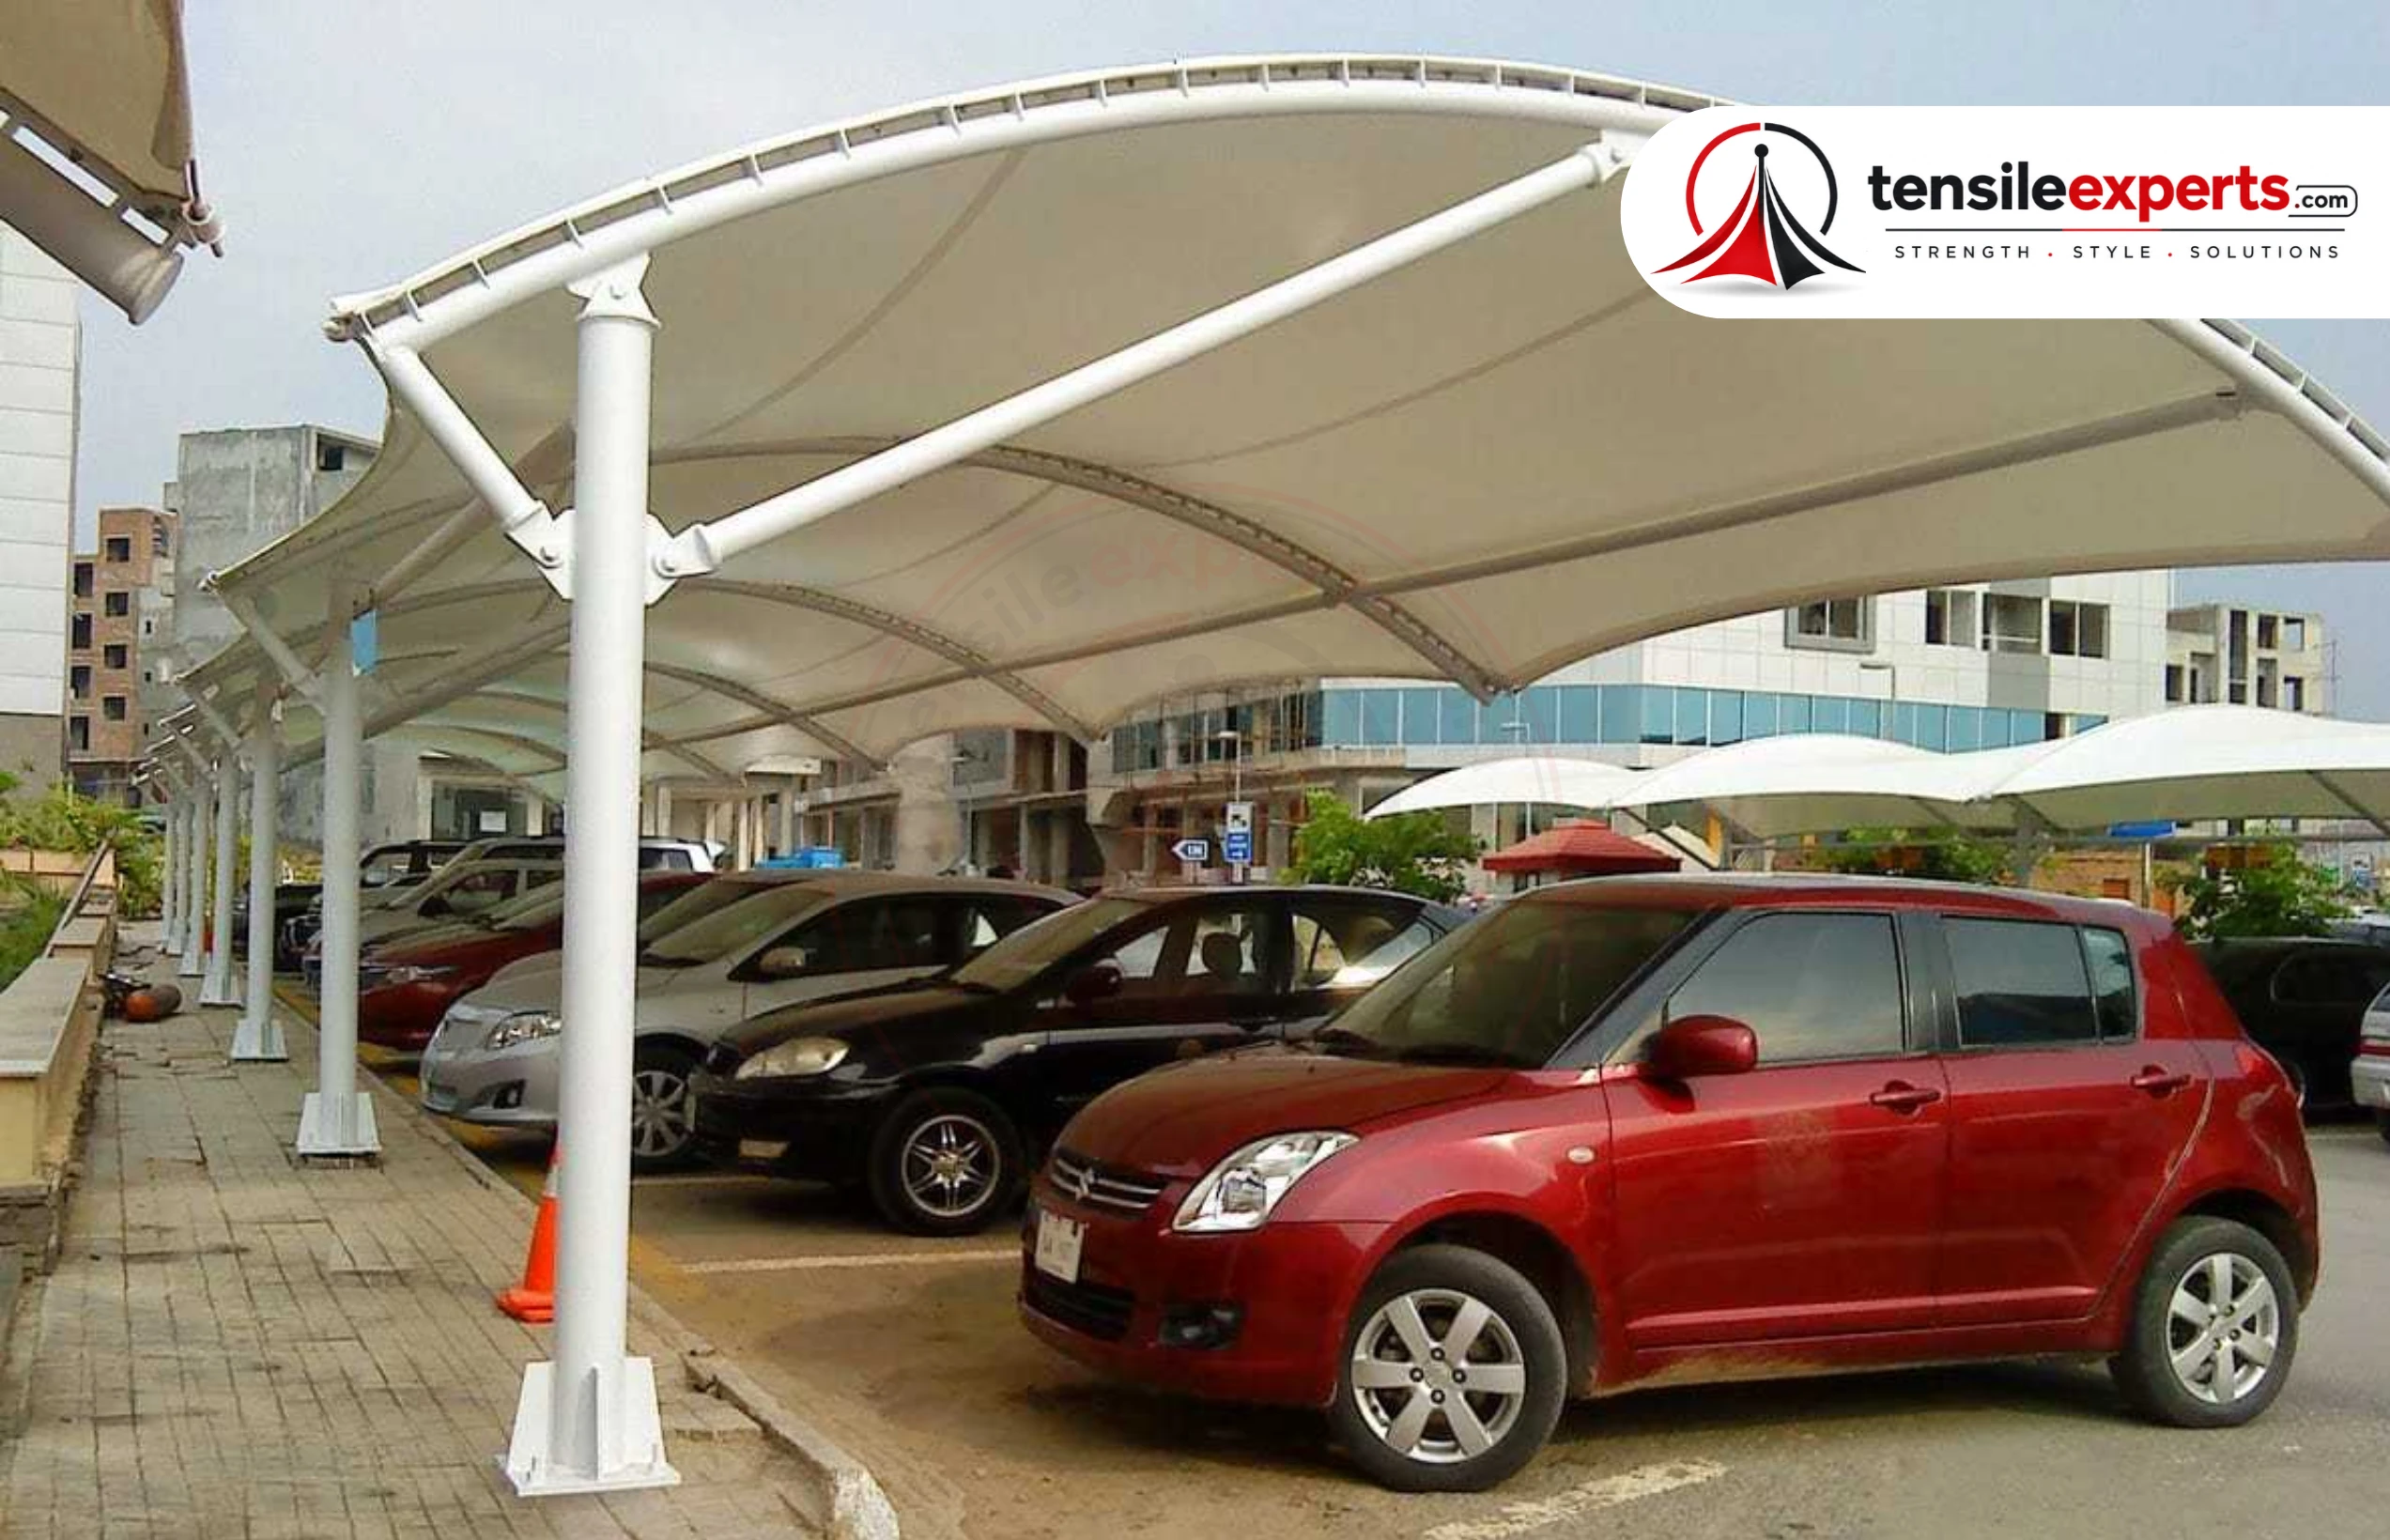

See the full product directory for everything we plan, design, and build.
Frequently Asked Questions
Ready to start planning your project? Get in touch for a free site consultation.